If
you're re-texturing a bunch of hairs, you may want to get lazy (or
smart as I call it >.>) with the Roots and Tips.
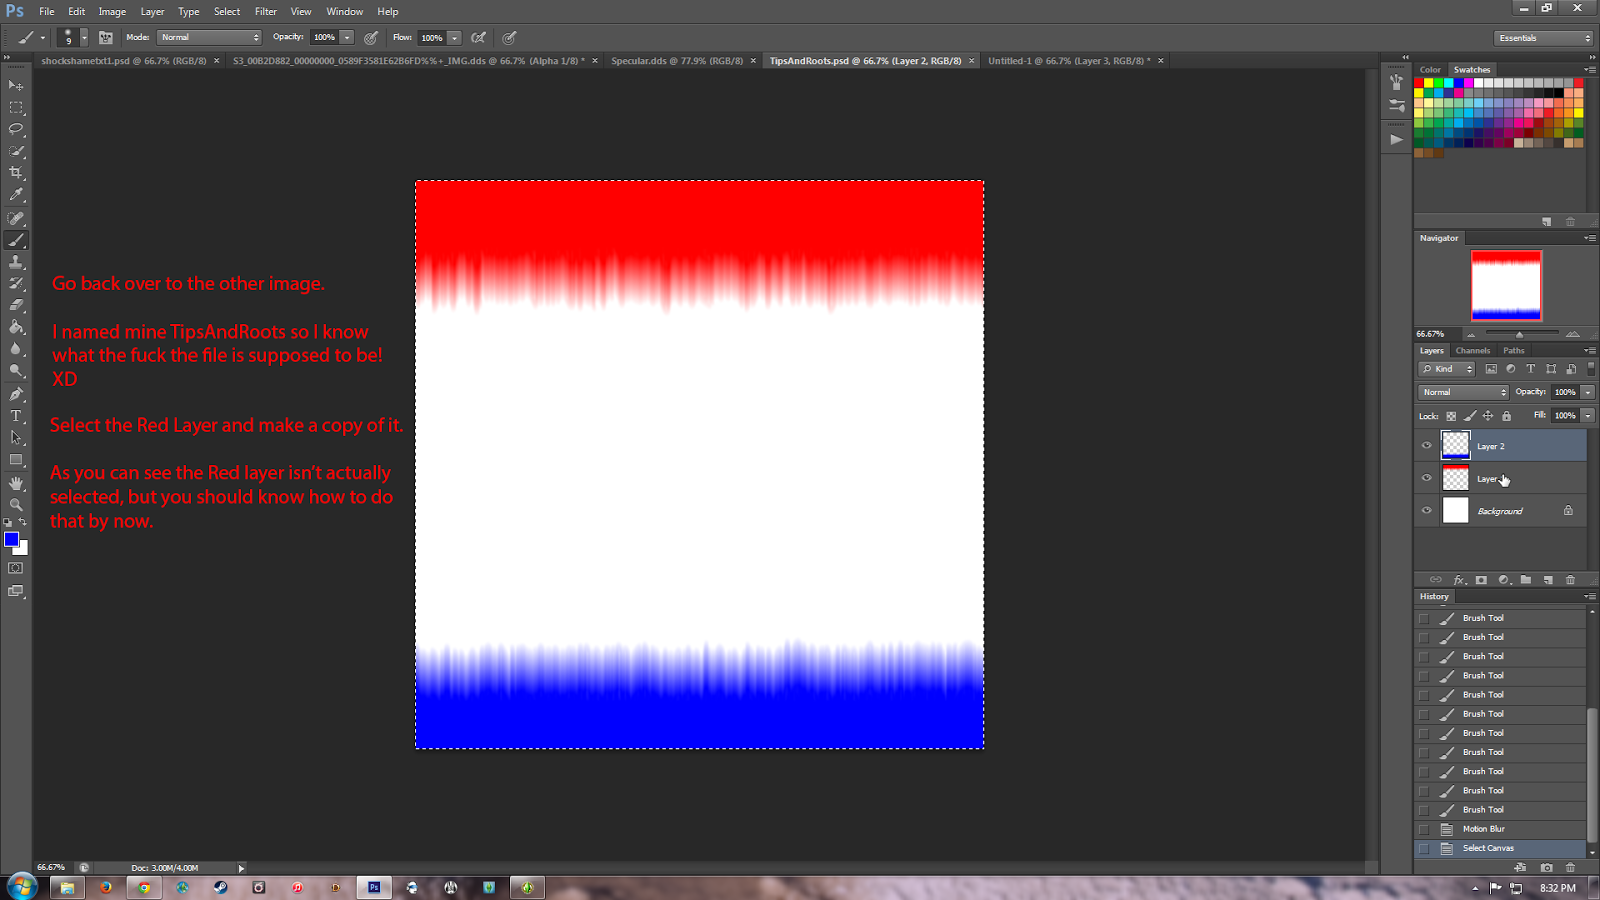
Make
a new image and then make a new layer. Take the rectangle marquee
tool and make a big rectangle then fill it in with Red using the
paintbucket tool.
Now
draw your jagged edges like you did for the Roots earlier. Use Motion
blur on it, until it looks good.
Now
make another new layer. Take the rectangle marquee tool and make
another rectangle, this time at the bottom of the image. Fill this
rectangle in with Blue, draw the jagged edges at the top of the
rectangle like before, and use Motion Blur on it again.
You Image should now look like this.
Go
ahead and save it. You'll want to save it as a PSD file, saving it
this way will ensure that all of your layers are saved just as they
are. Name it Tips and Roots or something just as descriptive. That
way you'll know what it is for later.
To
use: Click on whichever layer you want to use and make a copy of it.
Go
over to your Control and Paste it in above your Diffuse texture
layer.
Move
the layer down until it's in place by using the Move tool
You'll
notice when you move it down, it's not really covering as much of the
texture as it should be, at least in my opinion.
The two middle pieces need to be moved up. To do this make a rectangle around the two middle pieces making sure that you get all of the blue in your rectangle.
Select the move tool and stretch the rectangle up. Hit the checkmark to confirm.
Do the same for the Roots. Copy the Red Layer and then paste it into your Control.
Move it up to the top
Move any sections that don't cover enough of the texture down.
Now you can see, it looks almost identical to the other process. Doing it this way, ultimately saves time in the long run if you're doing multiple retextures.
You would continue from here with the Highlights like normal.


No comments:
Post a Comment